Last updated October 15, 2026
Seasonal ADU Care for Santa Clarita: Year-Round Homeowner’s Guide
Santa Clarita doesn’t actually get a four-season calendar. What we get is a fire-heat-rain-heat cycle: five months of dry expansion, a short winter where six to eight weeks of rain hits structures that have been stretched and baked all summer, then heat again before the last damp spots have fully dried. That cycle is what drives most ADU maintenance failures here, and it’s why generic seasonal checklists written for other climates quietly fail homeowners in Valencia, Saugus, Canyon Country, and Newhall. You’ll spend less and repair less over ten years if you maintain against the cycle Santa Clarita actually has, not the one a national blog assumes you have. This guide walks through what to do in each phase, what to look for, what it costs when things go wrong, and how to document everything so a warranty claim or insurance claim doesn’t turn into a fight.
Quick Answer
Seasonal ADU maintenance in Santa Clarita follows four real checkpoints: pre-fire-season exterior prep in May and June, peak-summer HVAC and caulk management in July through September, first-rain inspection in December or January, and post-rain structural review in March. Homeowners who complete a one-hour walkthrough at each checkpoint typically prevent the three costliest ADU failures we see in Santa Clarita: water intrusion at stucco penetrations, mini-split overload from dust-clogged filters, and ember entry through unmaintained vents.
Table of Contents
- Pre-Fire-Season Prep: May and June
- Peak Summer: Mini-Split and HVAC Care in Inland Heat
- First-Rain Inspection: What the Water Shows You
- Late-Summer Stucco and Caulk: The Right Time to Check
- The Seasonal Inspection Log That Protects Your Warranty
- Quarterly Maintenance at a Glance
- Common Mistakes to Avoid
- When to Call a Professional
- Frequently Asked Questions
Pre-Fire-Season Prep: May and June
By late May, Santa Clarita’s vegetation has already browned. The humidity drops into single digits on Santa Ana days, and the National Weather Service starts issuing Red Flag Warnings that most homeowners in this valley have learned to read like a weather report. For ADU owners, the pre-fire window between mid-May and late June is when three specific tasks prevent the most expensive outcomes.
First, walk the exterior and check every vent. Your ADU has at least two types: foundation vents and attic or eave vents. In wildfire conditions, embers don’t need an open door to start a fire. They need a gap the size of a dime. Vents on older ADUs often have mesh screening with quarter-inch openings, which is large enough for embers to pass through. Current wildfire-resilient construction standards call for one-eighth-inch or finer mesh, and retrofitting is inexpensive relative to the alternative. Check that screens are intact, not rusted through, and not blocked by debris. If your ADU came from a builder who used standard off-the-shelf vents, this is one of the highest-value upgrades you can make before summer.
Second, create and maintain a five-foot noncombustible zone around the ADU’s footprint. In practical terms: no stacked firewood against the wall, no dead shrubs in planters touching the siding, no patio furniture cushions left out during Red Flag days, and no accumulated leaf litter under deck stairs. In Canyon Country and the hillside communities, this zone matters even more because terrain-driven fire moves uphill and finds every gap. If you have a wood deck attached to the ADU, check the gap between deck boards and the exterior wall. Debris collects there, dries out, and becomes a wick.
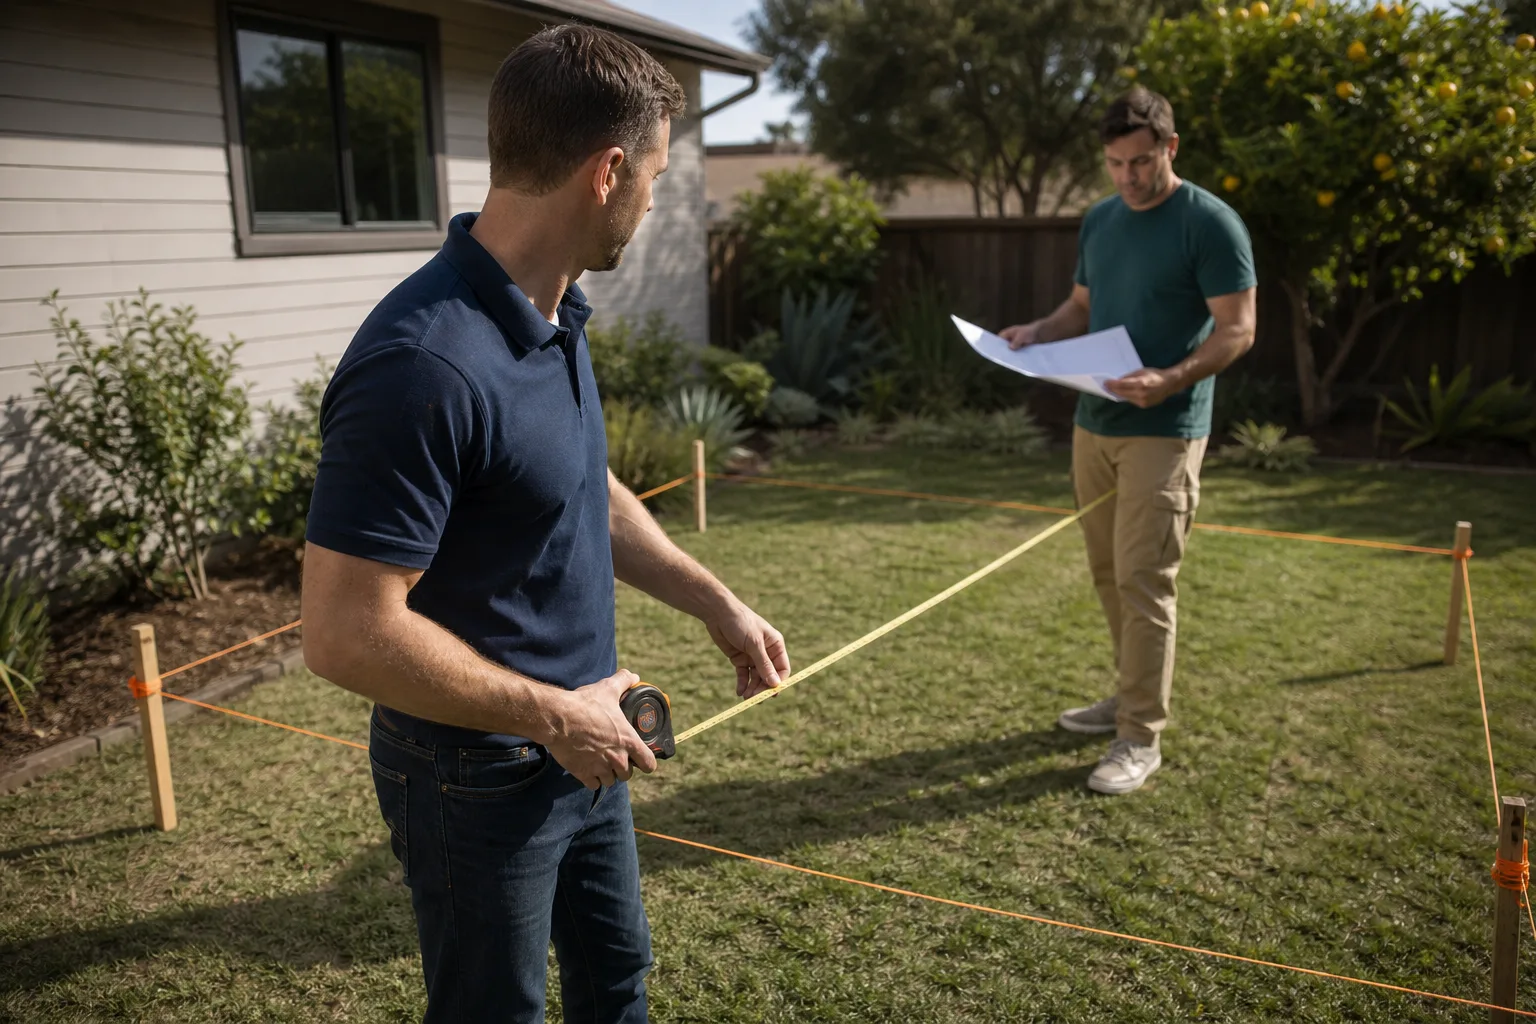
Third, inspect all exterior caulk joints while the building is still in its pre-peak expansion state. Walk the perimeter with a tube of exterior-grade polyurethane caulk in your hand, not just a notebook. Look at every point where something penetrates the envelope: the mini-split line set, electrical conduits, hose bibs, exterior lights, the junction between stucco and window frames, and anywhere trim meets siding. In Santa Clarita’s heat, elastomeric and acrylic caulks lose flexibility after two to three summers. A gap that lets in summer air will let in winter water. Recaulking the entire perimeter of a typical 400- to 800-square-foot ADU takes a homeowner about two hours and costs $40 to $80 in materials. Waiting until the gap fails in a rainstorm costs hundreds to thousands.
Peak Summer: Mini-Split and HVAC Care in Inland Heat
Santa Clarita’s inland heat is different from coastal Southern California heat. It’s drier, and it’s dustier. When summer temperatures push past 100 degrees for consecutive days, your ADU’s cooling system runs longer cycles, pulls more air through its filters, and in Santa Clarita conditions, that filter loads up with fine dust much faster than the manufacturer’s default replacement schedule assumes.
Here’s what we tell every homeowner who calls us after a mini-split fails in August:
- Check the filter monthly from June through September. Manufacturer defaults often say every 30 to 90 days, but that assumes average household dust. Santa Clarita’s environment is not average. During construction-heavy months and Santa Ana winds, a filter can visibly clog in three weeks.
- Wash, don’t just shake. Most mini-split filters are washable. Vacuum first, then rinse with warm water and let them dry completely before reinstalling. Reinstalling a damp filter invites mold into the air handler.
- Clean the outdoor condenser coil once in July. Cottonwood, dust, and landscaper debris accumulate on the fins. A garden hose on a gentle spray (never a pressure washer) is usually enough. Do this in the early morning when the unit hasn’t been running, and cut power to the unit first.
- Keep at least 18 inches of clearance around the outdoor unit. Plants grow fast in the early summer and block airflow. Trim before the heat peaks, not during it.
A mini-split that’s fighting a clogged filter doesn’t just cool poorly. It runs longer, pulls more power, and shortens the compressor’s life. In our experience across Santa Clarita ADUs, roughly half of all no-cool or weak-cool service calls in July and August come down to a filter or coil issue, not a refrigerant leak. The fix is a $10 to $20 maintenance item, not a $400 service call.
If your ADU has ducted HVAC instead of a mini-split, the same principle applies with slightly different steps: replace the return-air filter monthly during peak heat, check the condensate drain line for clogs by pouring a cup of white vinegar through it each quarter, and keep the thermostat set to a range that doesn’t force short cycling. Short cycling occurs when the system turns on and off rapidly because the setpoint is too aggressive for the unit’s capacity. It wears out compressors faster than anything else except neglect.
First-Rain Inspection: What the Water Shows You
The first significant rain in Santa Clarita usually arrives in December, though it can hold off until January. When it comes, it reveals things that no dry-weather inspection can see. Water finds every gap, every failed seal, every improperly flashed penetration. The mistake many homeowners make is waiting for a visible leak before investigating. By the time water stains appear on an interior ceiling or wall, the intrusion has often been active for hours or days, and the repair is already an interior repair, not just an exterior one.
Here is the walkthrough, in order:
- Start inside during the rain. Walk every room of the ADU while precipitation is falling. Listen for dripping inside walls. Look at ceiling corners, especially where the ceiling meets exterior walls. Run your hand along the bottom edge of window frames. Check inside closets that share an exterior wall. Set a furniture pad or towel under any window you’re suspicious of, then revisit in an hour.
- Go outside with an umbrella and a flashlight during the rain. Look at the roof drainage system in action. Is water flowing out of the downspouts and away from the foundation, or is it sheeting off the roof edge and splashing up against the stucco? On an ADU with a mini-split, check that the line set’s wall penetration has a drip loop that sheds water downward, not sideways into the building.
- If the ADU has a flat roof or a parapet wall, pay extra attention. Flat roofs in Santa Clarita’s dry climate don’t get tested often, which means the first rain each season is the first time the membrane has been asked to perform in months. Parapet wall caps are a classic failure point: the metal cap expands and contracts with temperature swings, and the sealant underneath loses adhesion. If you can reach the parapet safely, look for lifted cap edges and gaps in the sealant line. If you can’t reach it safely, get someone who can.
- Check stucco penetrations at eye level and below. The bottom four feet of the wall bears the brunt of splashback. Every penetration is a potential entry point: exterior outlets, hose bibs, cable boxes, dryer vents, water heater vents. A properly installed penetration has a flange, a bead of sealant, and a slight downward slope on its top edge. Water should hit the flange and shed, not sit.
- After the rain stops, do a second pass outdoors. Look for new cracks in the soil at the foundation line, new stains on the stucco, and standing water anywhere within three feet of the ADU. Standing water that persists for more than 24 hours means the drainage plane isn’t working, and that’s worth fixing before the next storm.
One practical note about documentation: take phone photos of any anomaly you find during the first-rain walkthrough, with a ruler or a coin in the frame for scale. These photos become your baseline for the next inspection and your evidence if you file a claim later.
Late-Summer Stucco and Caulk: The Right Time to Check
Most maintenance guides tell you to check caulk in the fall, before the rain comes. That framing misses something important in Santa Clarita: the right time to find cracks is after peak expansion, not before. Here’s the reasoning.
Stucco, siding, window frames, and trim all expand in summer heat. By late August and September, every exterior material on your ADU has gone through its maximum thermal range for the year. Any joint that has separated under that stress is now at its widest point. What you find in September is the largest possible gap the building will present all year. Wait until November, when temperatures moderate and materials contract back, and the gap may partially close on its own, hiding itself just before the rain arrives.
So do your caulk and sealant inspection in September, even though it feels counterintuitive. Walk the building with a notepad and a tube of appropriate sealant. On a stucco ADU, look for hairline cracks running in a stair-step pattern from window corners. Those are signs that the building is flexing under thermal load, and they widen every year if left unfilled. On a wood or fiber-cement sided ADU, look for gaps where siding meets corner trim, and pay attention to the southwest-facing wall, which gets the most direct afternoon sun exposure in Santa Clarita and fails first.
For the sealant itself, use a product matched to the material. On most exterior joints, a high-quality elastomeric or hybrid polyurethane sealant works across stucco, wood, and fiber cement. On James Hardie fiber cement, which we use on many Santa Clarita ADUs, check the manufacturer’s joint-flashing guidance: butt joints require flashing behind the joint, not just caulk in front of it. Caulk alone on a fiber cement butt joint is a cosmetic fix, not a weatherproofing fix.
The cost of doing this right is modest. A full exterior recaulk on an ADU runs roughly $200 to $500 in materials if you do it yourself, or $800 to $1,500 if you hire a licensed contractor. Compare that to a single winter of water getting behind the exterior: wall cavity dried out, insulation replaced, drywall cut open, texture and paint redone. That repair routinely runs $2,500 to $6,000 on a single wall.
The Seasonal Inspection Log That Protects Your Warranty
Documentation turns an argument into a claim. If you ever need to file a warranty claim on your ADU, a structural claim on your homeowners insurance, or a claim against a subcontractor who did something that failed early, a seasonal inspection log is the difference between a smooth process and a disputed one.
The log doesn’t need to be complicated. A simple spreadsheet or even a notebook works. Here’s the format we recommend to ADU owners in Santa Clarita, and we’ve seen it work in real claims. For more guides & resources, visit our blog:
- Date, time, and weather at inspection. Example: “September 14, 2026, 8:30 a.m., 92°F, clear, no wind.” This establishes that you inspected in representative conditions.
- One line per item inspected. Note the item, its condition, and any action taken. Example: “South wall window caulk: 6-inch separation at southwest corner. Recaulked with DAP Dynaflex Ultra. Photo attached.”
- Three to five photos, minimum. Wide shot of the building face, close-up of any anomaly with a scale reference, and a photo of any repair completed. Store photos in a dedicated cloud folder named by date.
- Any maintenance performed, with product names and dates. Example: “Mini-split filter washed and reinstalled. Condenser coil rinsed. Coolant lines visually checked, no oil residue observed.”
- Follow-up needed and by when. A short note keeps you honest: “Check north wall stucco crack again after winter rains. If widening, schedule estimate.”
Four entries a year, each taking about 20 minutes plus the walkthrough itself. Over ten years, that’s a running history of your ADU’s envelope, HVAC, drainage, and exterior conditions. If a warranty claim ever hinges on whether you performed reasonable maintenance, this log answers the question before it’s asked.
Quarterly Maintenance at a Glance
Here’s the full annual rhythm in one place:
May – June: Fire Season Prep
- Check all vents for ember-resistant mesh (1/8″ or finer)
- Clear the 5-foot zone around the ADU of combustibles
- Inspect all exterior caulk joints while gaps are small
- Trim plants and trees away from the roof and overhangs
July – September: Peak Heat Management
- Clean mini-split filters monthly; replace ducted HVAC filters monthly
- Rinse condenser coils once in July
- Late August or September: full exterior caulk and sealant inspection after peak expansion
- Check for new stucco cracks at window corners and wall intersections
December – January: First Rain
- Interior walkthrough during active rain: ceilings, corners, window sills, closet walls
- Exterior check of roof drainage, downspouts, and stucco penetrations
- Flat roof and parapet cap inspection after first significant rain
- Document any water intrusion with photos and measurements
March: Post-Rain Review
- Re-inspect any areas that showed cracking or intrusion during winter
- Check foundation drainage and soil settlement around the perimeter
- Clean and inspect the condensate drain line on ducted systems
- Update the seasonal log with this year’s findings
Common Mistakes to Avoid
- Following a generic national maintenance calendar. A guide written for the Northeast puts “winterize your pipes” in October. In Santa Clarita, that step is nearly irrelevant, while ember-resistant vent checks never appear. Maintain against the fire-heat-rain-heat cycle, not a four-season calendar meant for somewhere else.
- Waiting for a visible leak to inspect. By the time interior staining appears, the water has already been moving through the wall cavity, insulation, and framing for days. A first-rain walkthrough costs an hour. Skipping it converts a $50 caulk job into a $3,000 interior repair.
- Using interior caulk on exterior joints. Interior acrylic caulk is cheaper and easier to tool, but it hardens and cracks within one Santa Clarita summer. Use exterior-rated elastomeric or polyurethane sealant, and check the label for UV resistance.
- Assuming mini-split filters only need quarterly changes. In Santa Clarita’s dust, a monthly check from June through September is the realistic schedule. A clogged filter reduces cooling output, strains the compressor, and pushes energy bills up in the peak-billing months.
- Ignoring the five-foot combustible clearance zone. This isn’t just about wildfire safety. The same zone that keeps embers away from your ADU also keeps irrigation overspray off your stucco, reduces pest access, and prevents soil contact with siding. The zone serves multiple functions.
- Not documenting seasonal inspections. If a problem worsens over years, photos and notes from earlier walkthroughs demonstrate due diligence. Without them, a warranty or insurance claim becomes your word against theirs.
- Treating caulk cracks as cosmetic. Hairline stair-step cracks at window corners are a structural signal, not a blemish. They indicate thermal movement, and left unfilled, they widen. Fill them when you find them, and note them in the log.
When to Call a Professional
Some conditions warrant a professional assessment rather than a DIY fix. If you find water staining on an interior ceiling or wall that you cannot trace to an obvious exterior source, call a licensed contractor before the next rain. If stucco cracks exceed one-eighth inch in width or run diagonally across large wall sections, they may indicate structural movement rather than thermal expansion. If a parapet cap has lifted or separated from its sealant and you cannot safely access the roof, do not climb up yourself. If you see mold, a persistent musty smell, or water pooling against the foundation after every rain, these are conditions that compound. Seedling ADU Santa Clarita offers free estimates in Santa Clarita. Call (661) 362-8059 and we’ll walk the property with you, explain what we see, and write up a price before any work begins.
Frequently Asked Questions
Four times a year, aligned with the fire-heat-rain-heat cycle: once in May or June for fire-season prep, once in August or September for post-expansion caulk and sealant checks, once during the first significant rain in December or January, and once in March for post-rain review. Each session takes about an hour. Call (661) 362-8059 if a walkthrough turns up anything you don’t want to handle yourself.
Doing it yourself typically costs $40 to $80 in materials. Hiring a licensed contractor for a complete exterior recaulk on a standard ADU usually runs $800 to $1,500. The exact price depends on the size of the structure and how much old sealant needs removal. We provide a written price before any work starts.
Stucco penetrations and window-corner caulk joints fail first because they experience the most thermal movement. Mini-split filters clog fastest in the dusty summer months. Flat roof parapet caps and their sealant lines are the most common winter water intrusion points. This is why the late-summer inspection focuses on sealants and the first-rain inspection focuses on roof and stucco penetrations.
For ADUs built by Seedling, the 365-Day Done Right Promise covers workmanship issues that appear within the first year, and we make them right at no additional cost. For homes where we did not do the original build, our maintenance estimates are straightforward: we tell you what we found, what it costs to fix, and what can wait. Call (661) 362-8059 for specifics.
The fundamentals are the same, but a few details differ. Prefab units from builders like Cover, Dvele, and Boxabl arrive with factory-sealed envelope components, which means fewer initial caulk joints than a site-built ADU, but the joints that exist still need the same seasonal attention. Modular units with flat roofs need the same parapet and membrane checks as site-built flat roofs. The discipline is identical; the number of penetration points varies.
Document it first: photos with a scale reference, a note of the date and weather conditions, and a measurement of the affected area. Then trace the water path from inside to outside as far as you safely can. If the source is a visible caulk gap or a blocked downspout, address it quickly. If the source isn’t obvious, don’t guess. We’re happy to look. Estimates are free.
The Bottom Line
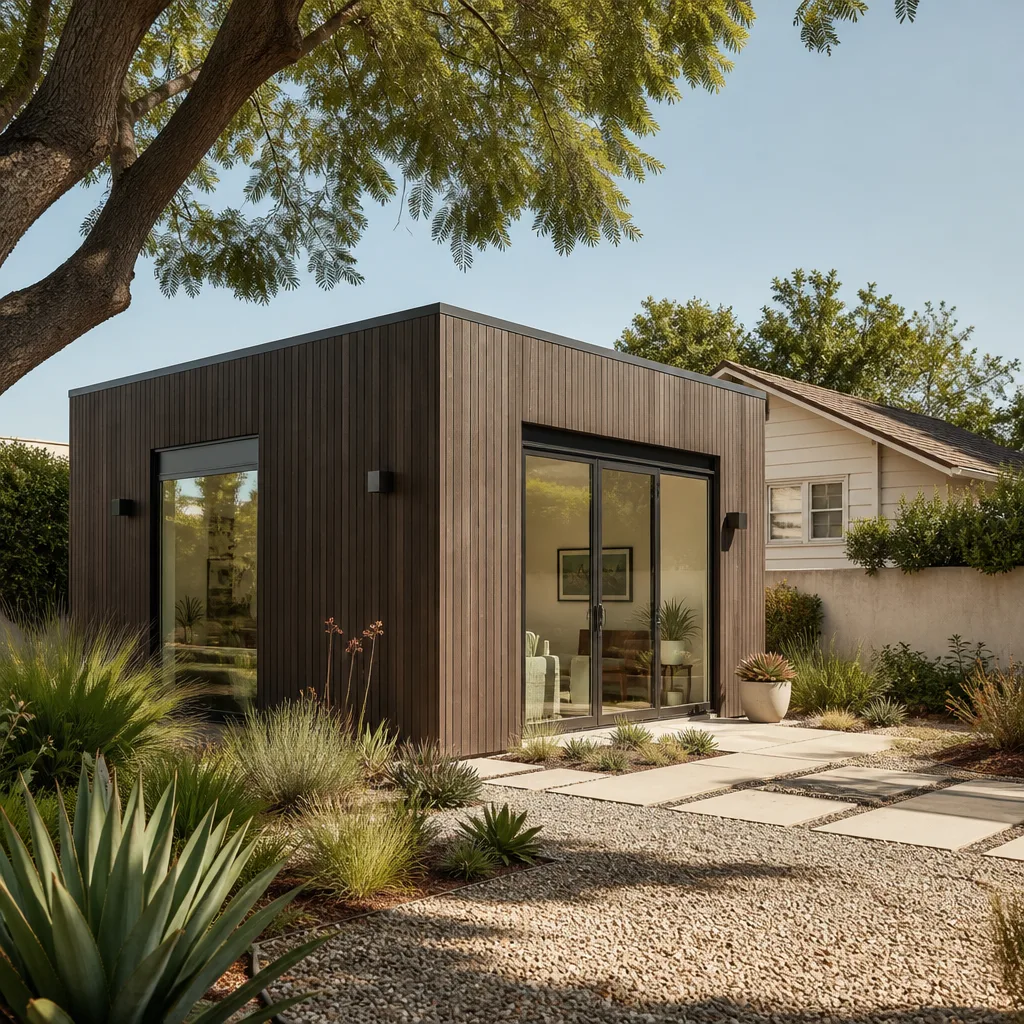
Santa Clarita’s fire-heat-rain-heat cycle punishes neglect in specific, predictable ways. Ember-resistant vents and a cleared five-foot zone protect against the first phase. Monthly filter checks and September caulk inspections tame the heat. A first-rain walkthrough catches what the summer has been hiding. March ties it all together with a documented review. Four hours a year of attention is the whole discipline. For the parts that need a professional eye, you know where to find us. Seedling ADU Santa Clarita home, home additions, garage conversions, and full ADU builds all carry the same promise: a written price before any work begins, the Cedarwell Care Promise on every visit, and the 365-Day Done Right Promise after the job is done.
Written by Ben Ortega, Owner at Seedling ADU Santa Clarita, serving Santa Clarita since 2001.