Tuff Shed Junior ADU Conversion: The Santa Clarita Owner’s Guide
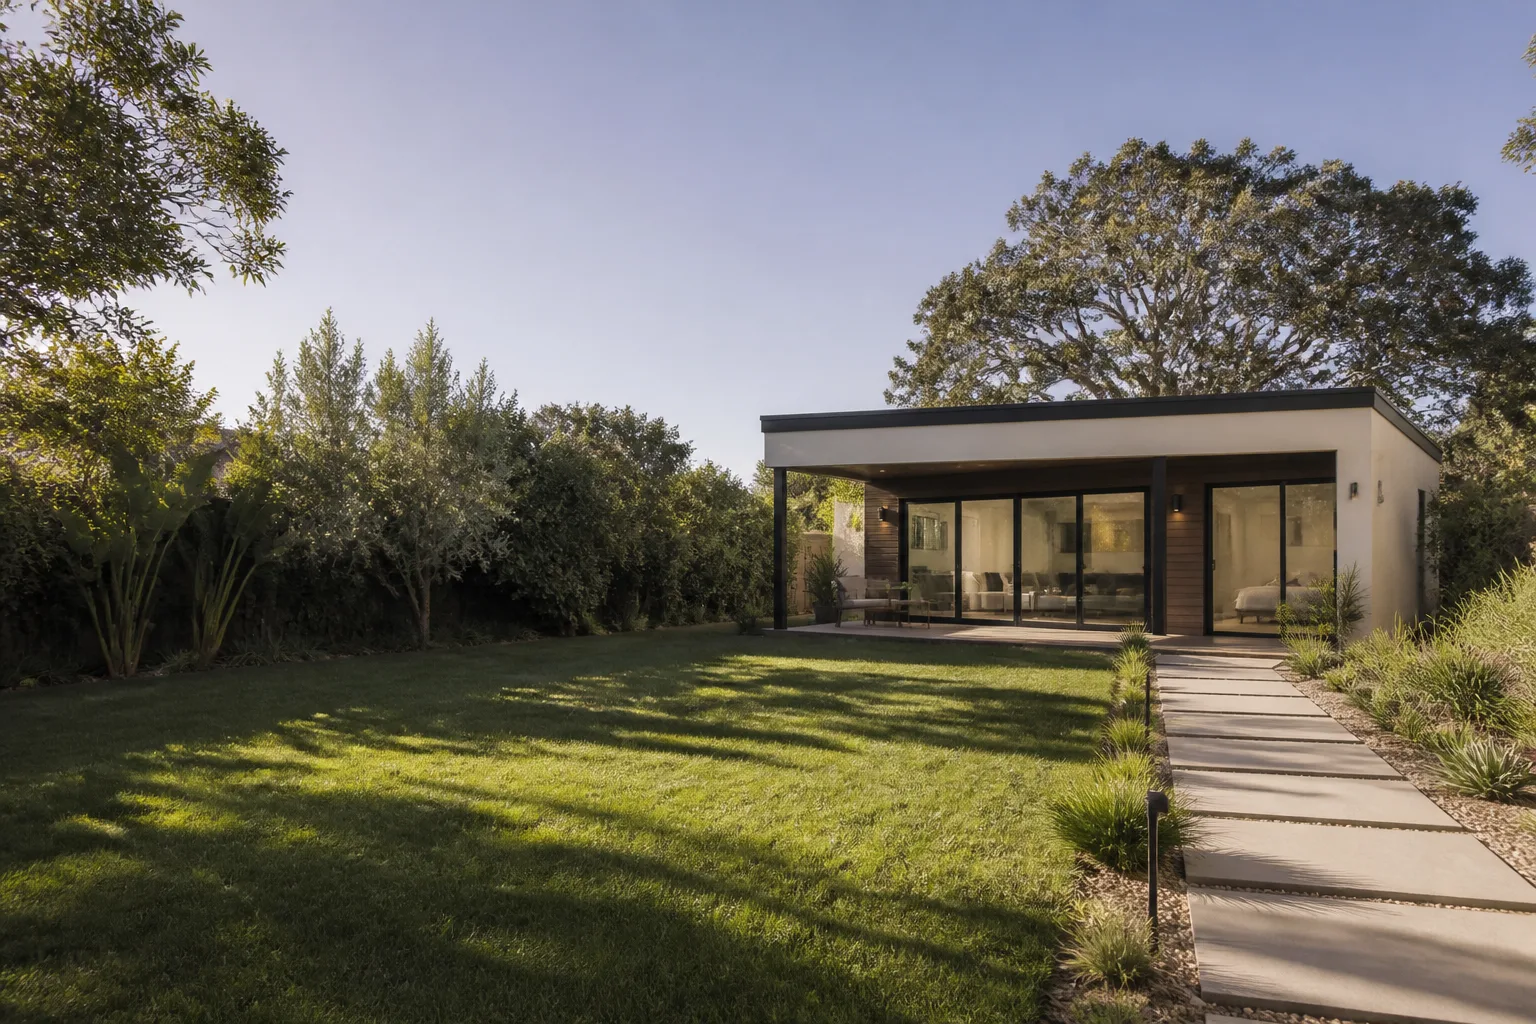
If you own a Tuff Shed in Santa Clarita and you’re thinking about turning it into a junior ADU, the short answer is this: we handle these conversions regularly, the typical installed cost runs between $85,000 and $145,000 depending on the shed’s condition and the scope of work, and the planning phase takes about two to three weeks before any tools touch your property. Most Santa Clarita homeowners come to us after they’ve had a Tuff Shed on their lot for a year or two and realize it’s doing nothing but holding boxes. The shed is fine; the conversion into a livable unit is what unlocks the value.
What usually prompts the call is frustration. The shed was supposed to solve a space problem, and instead it became a storage museum. We’ve walked onto properties in Valencia, Saugus, and Canyon Country where the Tuff Shed is structurally sound but functionally useless as living space. The good news: Tuff Shed products make a solid starting point for a junior ADU, because the framing and roof are already there. The work is in what’s missing: insulation, electrical, plumbing rough-in, drywall, flooring, and the paperwork that makes it legal.
We stock the conversion materials and hardware needed for most Tuff Shed models common in this area, and we can usually have your project on the schedule within a few weeks of the written price being accepted. Call (661) 362-8059 and we’ll walk you through what your specific shed can become.
Which Tuff Shed Models This Applies To
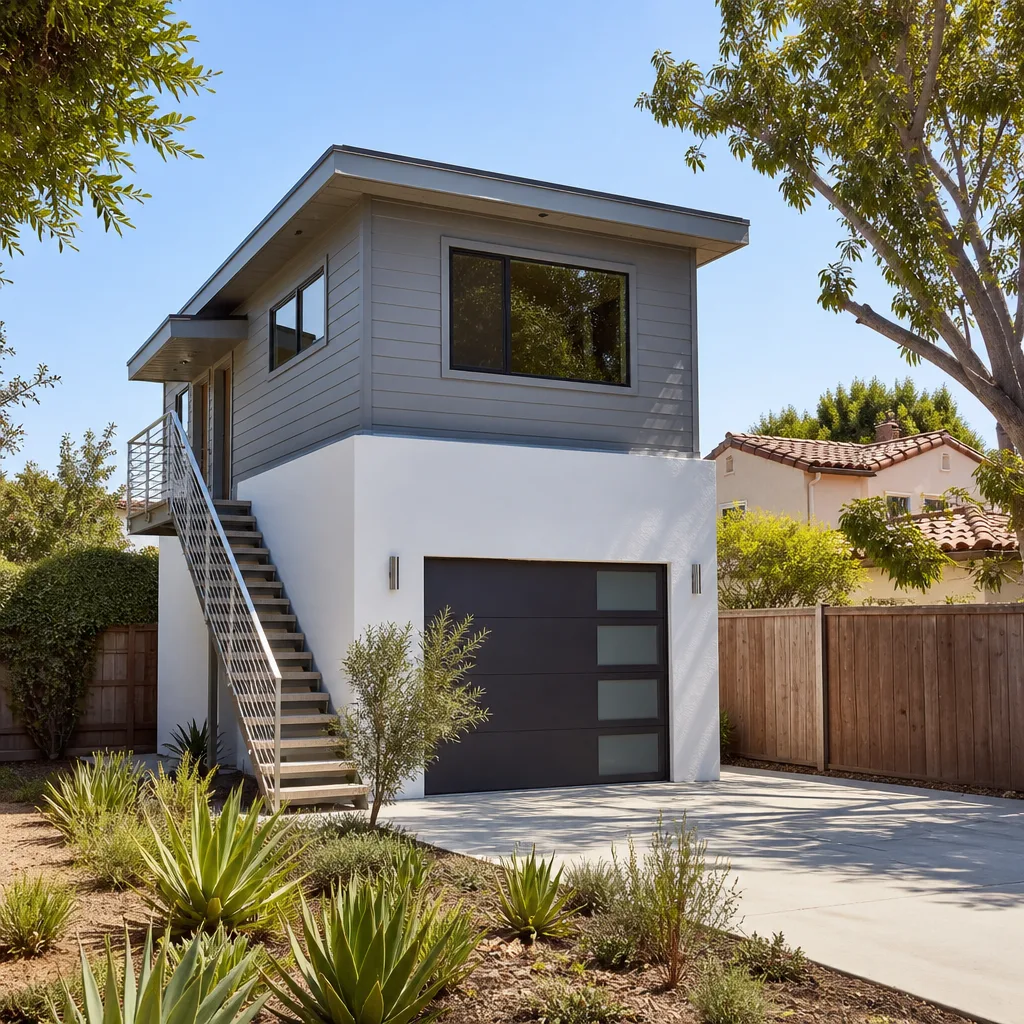
Not every Tuff Shed is a candidate for a junior ADU conversion, and this is where a lot of Santa Clarita owners get bad advice. The models that typically work best are the Premier Pro Series, Premier Ranch, and Premier Tall Barn with a minimum footprint of 10×12 feet. Anything smaller creates real problems with Santa Clarita’s junior ADU requirements, which generally want a maximum of 500 square feet but also demand enough room for a sleeping area, a small kitchenette, and a bathroom. A 10×12 Premier Pro gives you 120 square feet to work with, which is tight but feasible. We’ve also converted a couple of Premier Garden Sheds in the Bridgeport neighborhood near Valencia Town Center, but those required more structural reinforcement.
Here’s the compatibility gotcha most people miss: the floor system matters more than the walls. Tuff Shed builds some models on a wood floor frame that sits on leveling blocks, and others on a solid foundation pad. If your shed is on blocks, the conversion requires adding a proper foundation before anything else happens. That’s a cost and timeline factor nobody mentions until the contractor shows up. We check this first, before we give you a written price.
To identify your exact model, look for a serial number plate or label on the inside of the door frame or on the back wall. The model name and dimensions are printed there. We also ask for the original order paperwork if you have it. Tuff Shed has been around long enough that older models differ from current production, so we verify against the actual structure, not just your memory of what you bought. And to be clear: Seedling ADU Santa Clarita is an independent provider; we are not affiliated with Tuff Shed. That said, we work with their products every week, so we know the specific fasteners, framing spacing, and wall thicknesses these sheds use.
On the OEM-versus-aftermarket question for conversion hardware: for structural components like anchors, hold-downs, and shear paneling, we use what the engineer specifies for your project, which is often Simpson Strong-Tie or similar. For finish materials, you’ll get more options and better pricing by letting us source rather than paying Tuff Shed’s accessory markups. The shed itself is the only truly “OEM” part of this project.
Signs Your Tuff Shed Junior ADU Conversion Is Failing
If you already have a converted Tuff Shed and something’s off, here’s what we see most often in Santa Clarita’s climate. These are the real symptoms, in order of how frequently we get the call:
- Mold or mildew smell inside the unit – This usually means the original conversion skipped a vapor barrier or used the wrong insulation for our hot-and-dry summers and cool winters. Moisture builds up in the wall cavity, and with no venting, it turns into a biology experiment. We see this a lot in older DIY conversions.
- Doors or windows sticking, or visible gaps at the floor – Tuff Shed walls are not as stiff as framed walls, and after a couple of temperature cycles, the structure can settle or shift. If the door no longer closes cleanly, that’s a sign the floor wasn’t properly supported or the shed was never anchored to a real foundation.
- Electrical issues: outlets dead, lights flickering, breakers tripping – In converted Tuff Sheds, the original wiring was often run through exterior wall cavities that were never designed for it. Rodents, moisture, and heat can compromise the insulation on those wires. If the room is losing power, treat it as a real issue, not an inconvenience.
- Hot walls in summer, freezing floors in winter – Poor insulation and no air sealing. The Tuff Shed wall cavity is shallow compared to a standard residential wall, so the conversion has to use the right material for that specific depth. Generic fiberglass batts stuffed in there don’t do the job.
- Water pooling near the base or staining on the interior floor – Drainage is the most skipped step in budget conversions. If the shed wasn’t set with proper slope away from the foundation, water will eventually find its way under the floor. You’ll see staining first, then warping, then worse.
Replacement Cost & What’s Included
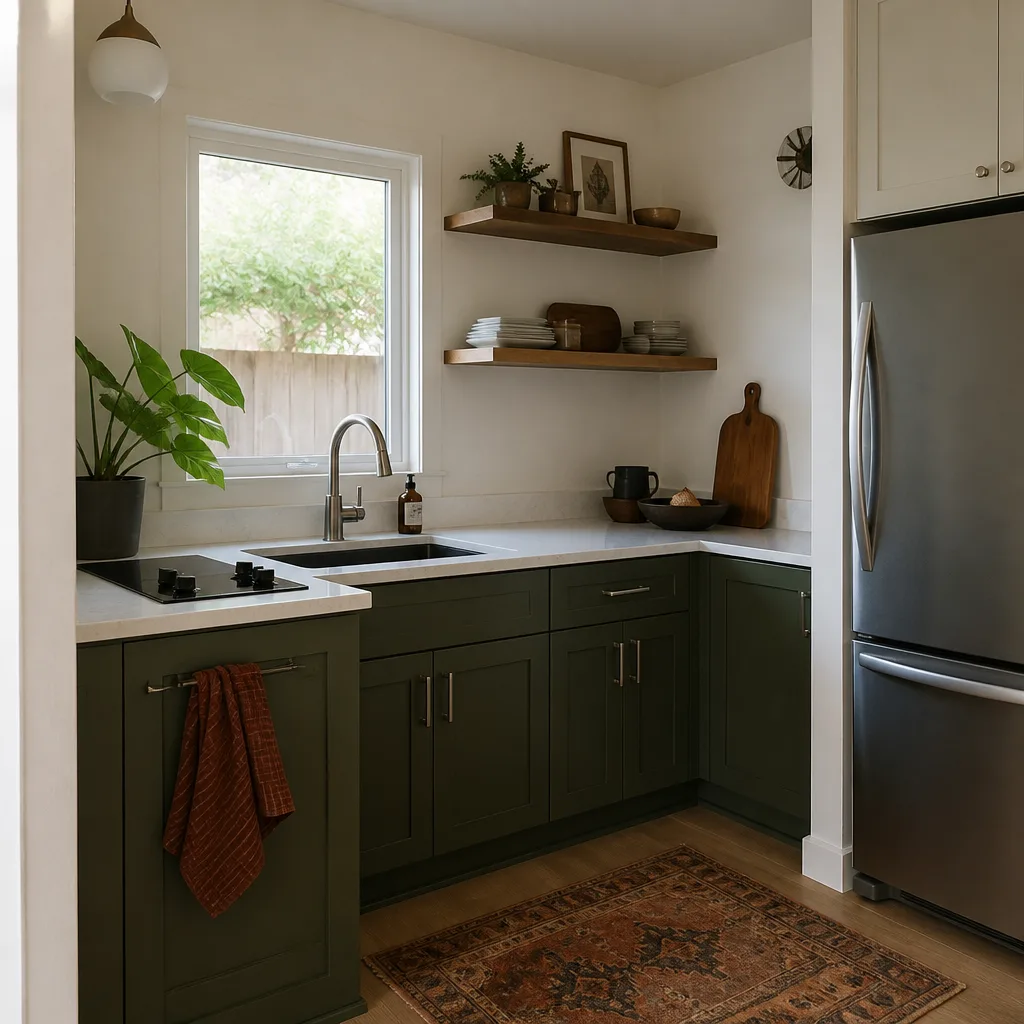
For a full junior ADU conversion of an existing Tuff Shed in Santa Clarita, our installed pricing typically runs $85,000 to $145,000. At the lower end, you’re looking at a simple, code-compliant unit with a kitchenette, bathroom, standard finishes, and minimal site work. Toward the upper end, we’re dealing with a poor foundation, difficult electrical panel access, upgraded finishes, and possibly structural correction to the shed itself.
Here’s how the costs break down on a typical 10×16 or 12×16 conversion in this area:
- Foundation or slab work: $6,000 – $12,000 depending on soil conditions and whether the shed needs to be moved or temporarily supported
- Electrical rough-in and panel connection: $7,000 – $14,000 depending on distance from the main panel and whether an upgrade is needed
- Plumbing rough-in (kitchenette and bath): $8,000 – $18,000 depending on sewer line depth and distance
- Insulation, drywall, and air sealing: $9,000 – $16,000
- Interior finishes: flooring, cabinetry, lighting, bath fixtures: $20,000 – $38,000
- Permits, plans, engineering, and inspections: $8,000 – $15,000
Every estimate we give is a written, line-item price before work starts. You’ll know exactly what the job costs, and there are no surprise change orders after the crew arrives. We pull the permits, we schedule the inspections, and the project is covered by our 365-Day Done Right Promise: if it’s not done right, we make it right. In writing.
Call (661) 362-8059 for a free estimate and we’ll measure your shed and give you real numbers.
DIY or Call Us?
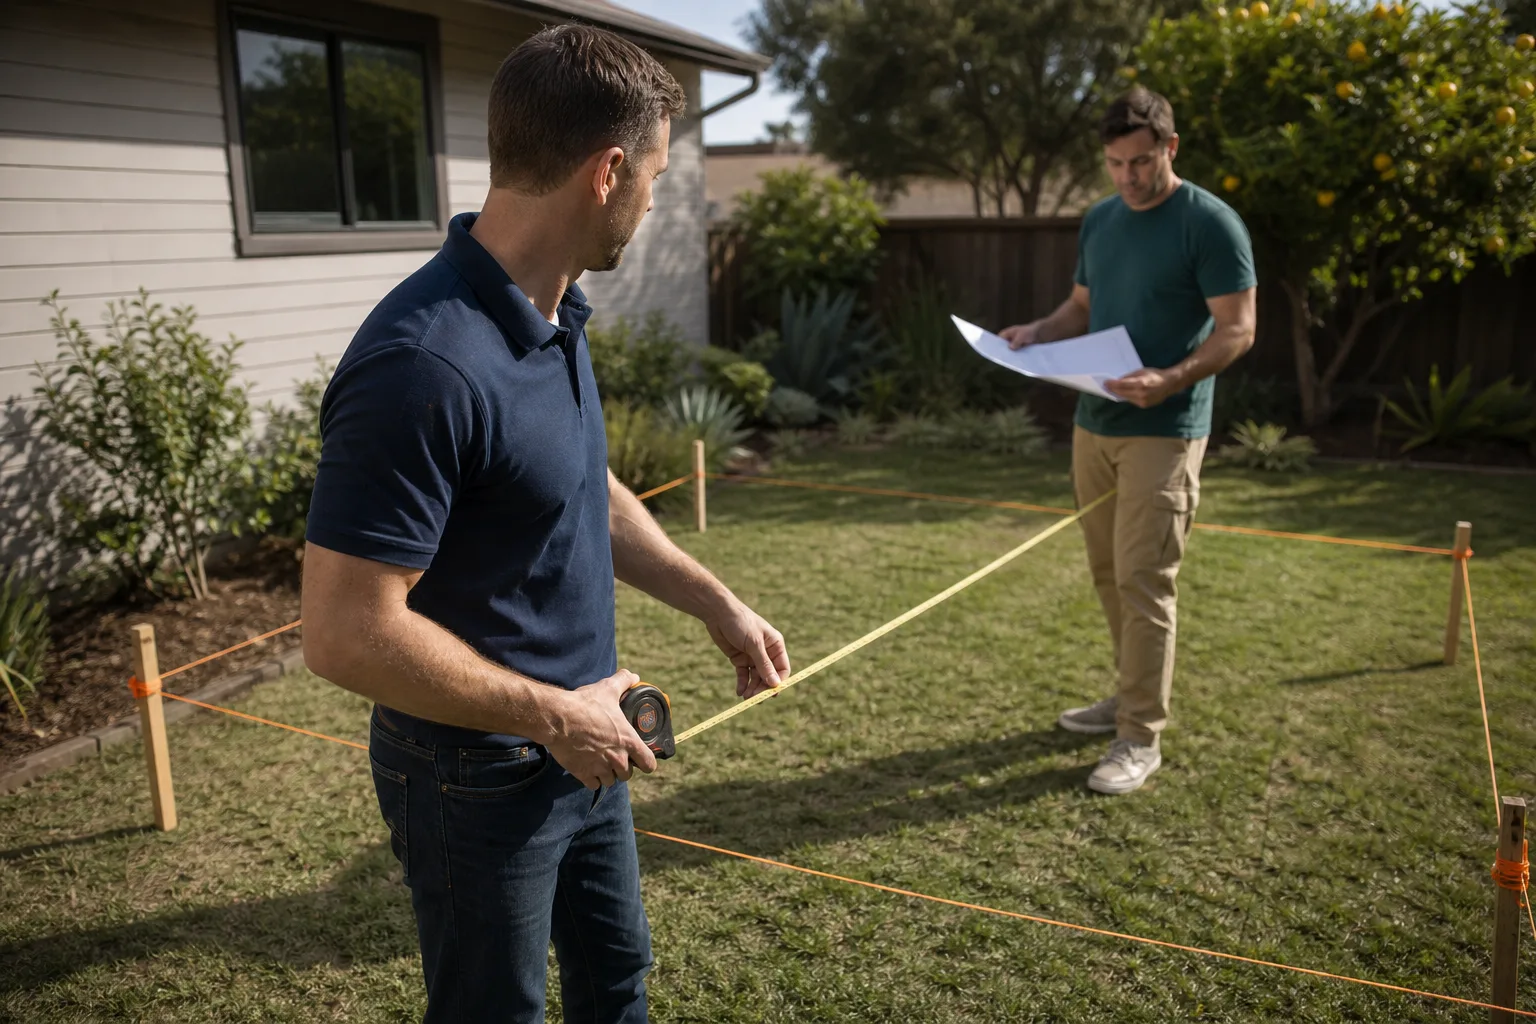
There are a few things you can safely do yourself before calling anyone. You can measure your shed’s footprint. You can photograph the label on the door frame so we know the model. You can note where the nearest electrical panel and water lines sit. That’s all genuinely helpful.
Where DIY goes wrong on a Tuff Shed conversion is when a homeowner starts pulling the interior walls down and finds wiring, plumbing, or structural issues they didn’t expect. The electrical work in a ADU conversion involves connecting to a live panel, and that’s not a place for trial and error. Same with tying into sewer lines: one wrong elevation and you’ve got a problem that costs more to fix than the entire original conversion. Any work involving live electrical connections or gas lines should be left to a licensed professional. We say that plainly because we’ve seen the aftermath of well-intentioned DIY conversions in Canyon Country that ended up needing a full teardown.
If you’re not sure whether your project is DIY-able, call (661) 362-8059 and describe what you’re seeing. We’ll tell you honestly whether it’s a simple fix or a bigger job.
FAQs
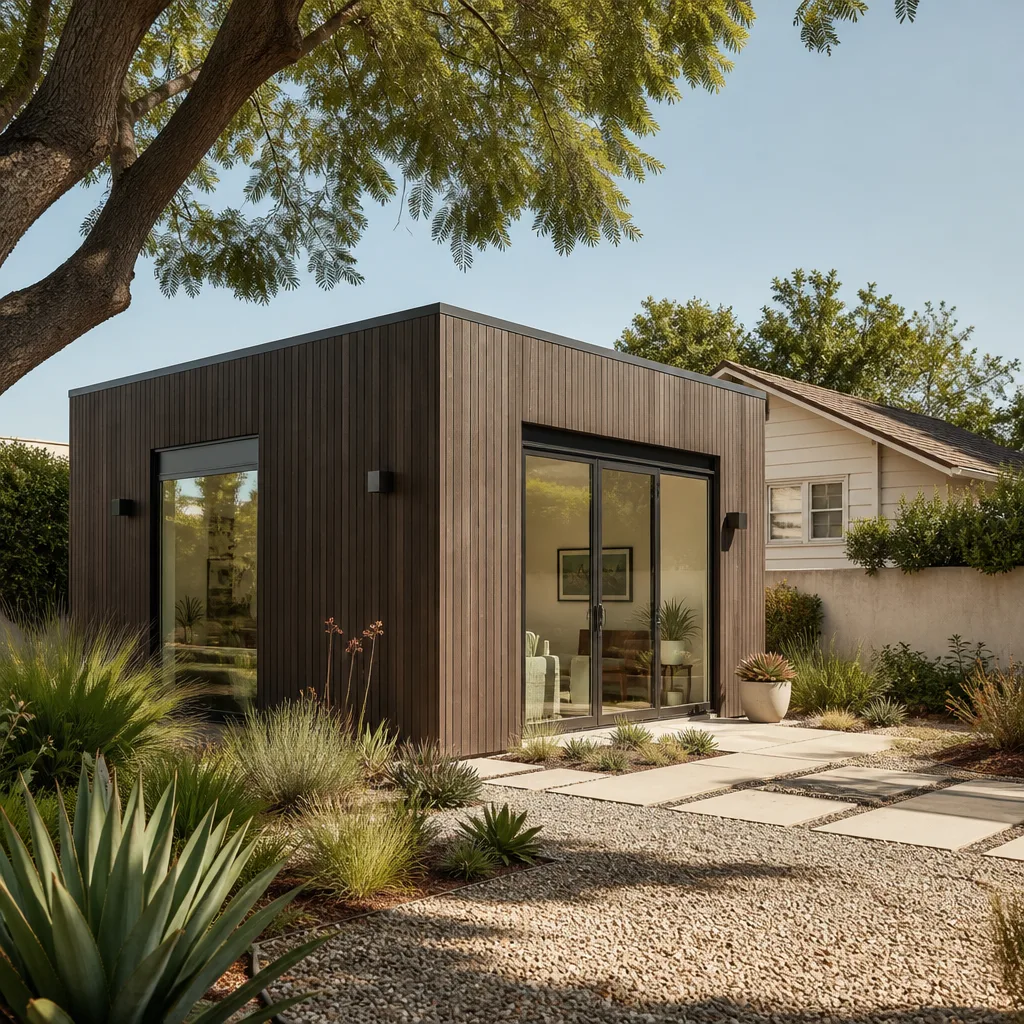
A properly converted Tuff Shed junior ADU should last 30 to 40 years in Santa Clarita’s climate, assuming the foundation is done right and the vapor barrier is installed correctly. The most common reason these conversions fail early is skipped drainage work or the wrong insulation, which can cut the lifespan to under a decade. Call (661) 362-8059 if you want us to assess what you’ve got.
Most Tuff Sheds built on a proper foundation can be converted if the wall framing and roof structure are intact. The exceptions are sheds with significant floor rot, sheds under 10×12 feet, or any shed where the wall framing has twisted from years of sun and poor anchoring. We’ll tell you within the first site visit whether your shed is worth converting.
A typical Tuff Shed junior ADU conversion in Santa Clarita takes 8 to 14 weeks from first day of construction to final inspection. The range depends on how much foundation work is needed and how quickly city inspections get scheduled. We give you a written timeline with the written price, so you know the plan before we start.
We stock the standard conversion materials and hardware used on most Tuff Shed Premier models: anchors, hold-downs, shear panels, insulation sized for shallow Tuff Shed wall cavities, and the electrical and plumbing rough-in components. You don’t need to order anything. If your project calls for something custom, we source it and include it in the written price.
Written by Ben Ortega, Owner, Seedling ADU Santa Clarita at Seedling ADU Santa Clarita, serving Santa Clarita and nearby areas.